
Two weeks ago, I announced my latest Hacking the Ocean project, an open-source, Arduino-powered water level meter that monitors the frequency of tweets containing the hashtag #sealevelrise. Since launch, the Sea Leveler has had some bugs and received some good press. Now that I’ve had some time to monitor its performance and work the bugs out of its code, it is finally time for the promised “how to build the Sea Leveler” post.
This project was much more involved than my Arduino build and significantly more rewarding. The Sea Leveler was a challenge on multiple fronts, from learning to make the Arduino talk to twitter to physically modifying the water level meter. As I noted in my first project log, I have very little programming experience, and the major goal of this build was to level up my C++ skills. I’m very happy with the results, both technical and aesthetic.
For simplicity, I’m going to break this into two posts, one for hardware and one for software.
Commercial Materials:
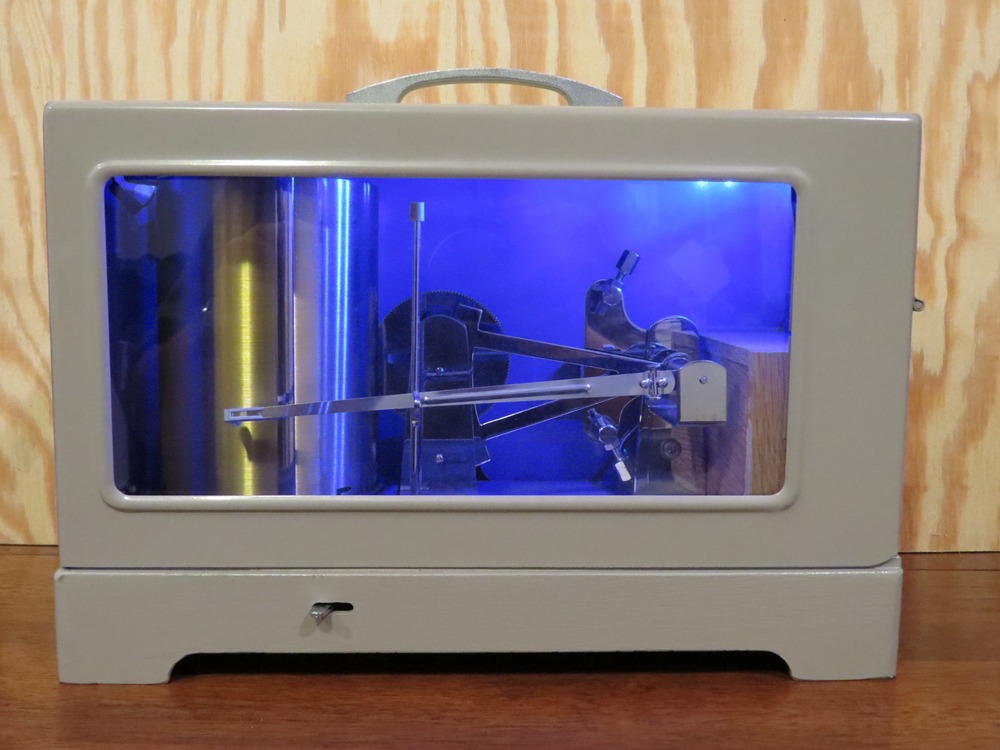
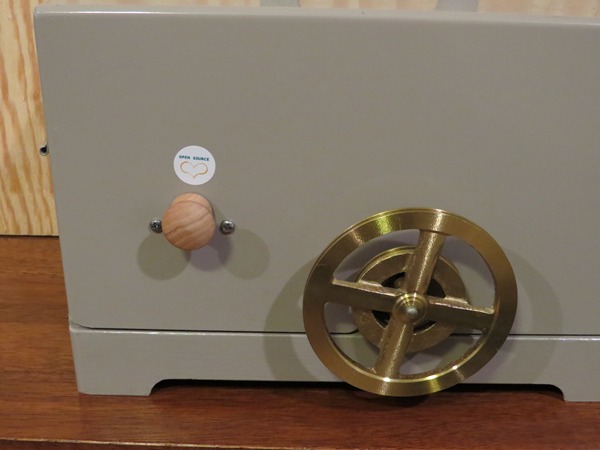
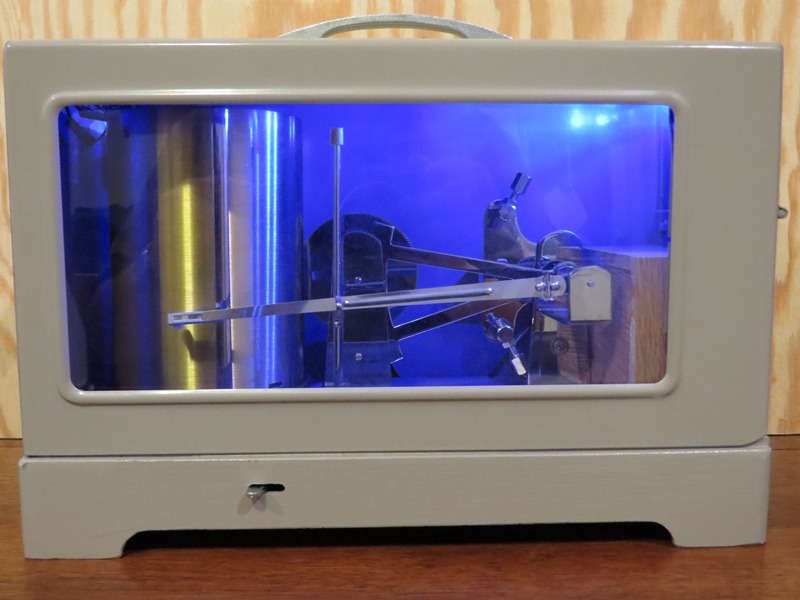
- WEATHERtronics Water Level Recorder (Free): This is the heart of the Sea Leveler. The inspiration for this build was finding a novel and interesting use for discarded scientific equipment. The water level recorder is a beautiful piece of hardware with polished stainless steel gears and a big brass flywheel. I’m lucky it wasn’t lifted by our local airship crew before I could get to it.
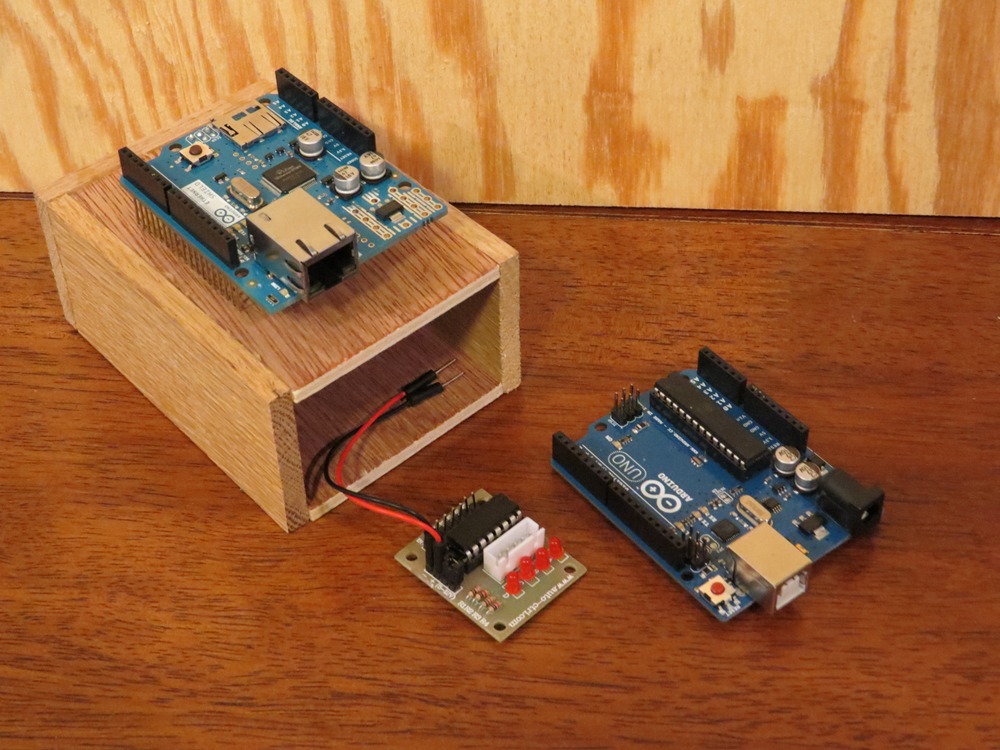
- Arduino Uno R3 ($21.95): The Sea Leveler’s brain. A handy microcontroller prototyping platform with an active, supportive community.
- Arduino Ethernet Shield R3 ($39.01): The shield allows the Arduino to connect to the internet, obviously important. I debated going with a dedicated platform, like the Netduino, that has Ethernet support built in to the same board as the microcontroller, but in the end decided to stick with something modular.
- 9V wall adapter power supply ($6.49): Necessary, since I wanted the Sea Leveler to be free standing rather than supported by a computer. Also nice since the USB power supply can’t drive the step motor well on its own.
- Step Motor ($8.35): The motor that actually controls the water lever recorder. This model is nice because A) it’s cheap, and B) it has a built in driver board, so connecting it to the Arduino is trivial.
- Ultra bright blue LED’s (<$1.00): To light up the inside of the case. Because science.
Stuff I had lying around:
- Lots of wood: to build the enclosure.
- O-ring: to drive the motor.
- Wooden spool thing: Used as a gear on the step motor.
- Random nuts, bolts, batteries, wires, resistors, etc.
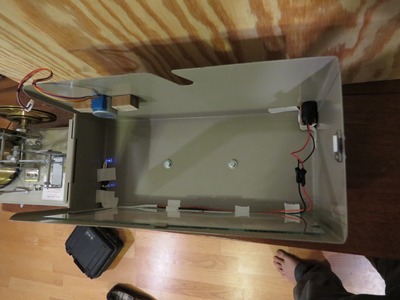
Step 1: Build the electronics enclosure.
The only reason this is step 1 is to give the wood glue a chance to dry while you’re working on everything else. The enclosure fits snugly inside the case behind the main arm mechanism. It really is just a box made of scrap wood with one end open, glued together with Tite Bond 1, the duct tape of woodworkers. Easy.

Step 2: Position and mount the step motor.
Mounting the step motor is also simple. The real trick is positioning it such that, when everything is closed up, the water level recorders mechanisms hide the motor, because it’s rather ugly. I would advise that you remove the glass panel from the case before drilling holes, otherwise you risk cracking the glass. Then just bolt the motor to the case and mount whatever object you’ve co-opted to become a gear to the axle. I actually cheated when I realized that I had the wrong sized nuts and did the old “drive a screw into a wood block” trick to mount the motor in place.
Step 3: Wiring everything up.
Connect the Ethernet shield to the Arduino. Easy.
The step motor is a clean little package, so all you have to do is connect it to the driver. Because the motor is pretty cheap, the wiring is not standard. You’ll have to experiment with different pin arrangements to get it to rotate correctly. Fortunately, it’s much easier to fix through the software.
To power the board, connect the positive terminal to the VIN pin on the Ethernet shield (this way the motor will draw a full 9V from the wall socket). Connect the negative terminal to any ground on the Arduino. There’s a bridge attached to the other two power terminals, leave this in place.
Connecting the digital pins is a little trickier, since the Ethernet shield uses several of them. I used pins 5, 6, 7, and 8. With the pins on the step motor driver pointed up and facing you, pins 1,2, 3, and 4 go from left to right. You won’t use the other 3 pins. Since the pin arrangement will require troubleshooting later, it doesn’t really matter in which order you connect them.
Step 4 (optional): Add LED’s.
The LED’s were an afterthought. If I had planned on them from the beginning, I would have done something more clever, like make the lights flash red when the Sea Leveler falls and blue when it rises. At the very least, I would have included a switched. As it is, the LED’s are just connected directly to a 9V battery and resistor. And the wires are just taped to the inside of the case. Fortunately, the way the case is designed, it’s impossible to see any of this when the Sea Leveler is closed. I may yet go back and wire up something a bit more whimsical.
Step 5: Pack it up and test it out.
Like I said, the physical construction was pretty straight-forward. The programming was the real challenge.
In the end, this cost of materials for this build cost around $80.00, although the bulk of that cost was the Arduino and Ethernet shield, both of which will eventually be recycled into the next project.
Next up: Programming the Sea Leveler!